
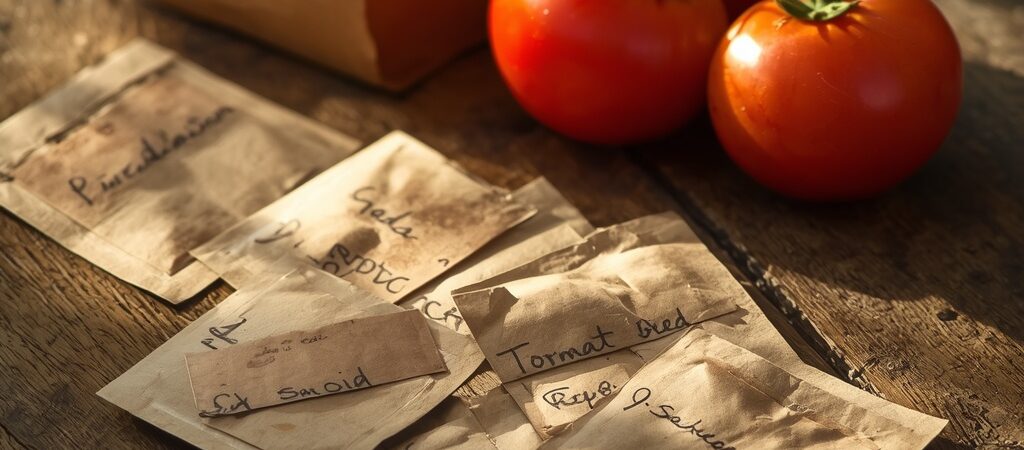
A four-dollar packet of heirloom tomato seeds usually holds twenty to thirty seeds. One healthy tomato plant, left to fully ripen a single fruit past the point of eating it, can hand back two hundred seeds or more — enough to plant next year’s garden and give away half a dozen packets besides. That’s the entire case for seed saving in one sentence: it turns a yearly expense into a one-time investment, provided a few things are done right at harvest time. Late summer, once the earliest plants are finishing out, is exactly when to start.
Start with open-pollinated or heirloom varieties only
Hybrid seeds, usually labeled F1 on the packet, won’t grow true to the parent plant — the next generation is a genetic guessing game. Heirloom and open-pollinated varieties breed true every time, which is the whole reason they’ve been passed down for generations instead of rebought. Check the seed packet or plant tag before saving anything.
Tomatoes need a short ferment
Scoop the seeds and gel from a fully ripe tomato into a jar with a little water, and let it sit at room temperature for two to three days, stirring once a day. This mimics the fruit rotting on the ground in nature, breaks down the germination-inhibiting gel coating, and kills off several seed-borne diseases in the process. Viable seeds sink; skim off the mold and pulp that float, rinse, and dry.
Beans and peas are the easiest starting point
No fermenting required. Leave the pods on the vine until they’ve dried brown and rattle when shaken — usually several weeks past the point where they’d still be good to eat. Shell them, spread the seeds out for another week of air-drying, and they’re done.
Give squash and pumpkins room to avoid cross-pollination
Different varieties of the same squash species will cross freely if planted within a quarter mile of each other, and the seeds won’t grow true the following year. Hand-pollinating a single blossom and taping it shut, or growing only one variety per species per season, solves the problem without needing acres of separation.
Let peppers go past their eating stage
Most peppers are picked green or before full ripeness for the kitchen, but seed-saving peppers need to hang on until they’ve turned their final color — usually red — and started to soften. Scrape the seeds out, spread them on a paper plate, and let them dry for a week out of direct sun.
Let a few lettuce plants bolt on purpose
Lettuce that bolts and flowers is usually pulled for being past its prime, but leaving two or three plants to finish that process produces small seed heads within a few weeks. Harvest before the fluffy seed heads shatter in the wind, and shake them into a paper bag to finish drying.
Carrots and other biennials take patience
True biennials — carrots, beets, cabbage, and onions among them — don’t flower and seed until their second year. The root has to overwinter, either in the ground under heavy mulch in a mild climate or pulled and stored in a root cellar, then replanted in spring to bolt and set seed. It’s a bigger commitment, but it’s the only way to save these particular seeds.
Dry everything the same careful way
Spread seeds in a single layer on a paper plate, coffee filter, or screen — never plastic, which traps moisture and invites mold — in a dry, airy spot out of direct sunlight. Most seeds need one to two weeks. A seed that’s ready snaps cleanly; one that’s still pliable needs more time.
Store cool, dark, and dry
A glass jar with a tight lid, kept in a cool closet or the back of a cupboard, keeps most seeds viable for two to five years. A spoonful of powdered milk or a small silica packet tucked in the jar pulls extra moisture out of the air. Label every jar with the variety and the year — a seed that isn’t labeled is a seed that gets planted as a mystery.
Test germination before spring
A few weeks before the growing season starts, roll ten seeds into a damp paper towel, seal it in a bag, and check back in seven to ten days. Six or more sprouted seeds out of ten is a good germination rate worth planting; fewer than that, and it’s worth planting more thickly or starting fresh.
Trade what grows too well
A single productive plant often produces far more seed than one household needs. Community seed swaps, church auctions, and simply passing an envelope to a neighbor are as much a part of the tradition as the saving itself — an Amish garden rarely relies on just one household’s seed stock, and neither should a backyard one.
Seed saving costs almost nothing beyond attention and a few paper envelopes, and it pays back every single year it’s kept up. Starting with just two or three easy varieties this season — beans and tomatoes are the forgiving place to begin — is enough to see the savings add up before next spring’s seed catalogs even arrive.
See also: 25 Foods That Never Expire (The Amish Pantry List)
For envelopes, labels, and the other small tools that make seed saving easier, take a look at my Gardening & Seed Saving list on Amazon.